Controlling your Robot Arm with Joysticks Circuit Diagram
BlogControlling your Robot Arm with Joysticks Circuit Diagram how to make a Arduino based Joystick Controlled Robot | MIT App inventor based Android ApplicationCode, Schematics and APK:- https://github.com/embeddedlab7

JLCPCB Prototype for $2(Any Color): https://jlcpcb.comHow To Make Arduino Joystick Control Robot At Home.How to make joystick control car at homeMaterials :-
how to make Arduino based Joystick Controlled Robot Circuit Diagram
Code Overview. This code controls a 3-DOF robotic arm using three servo motors (base, shoulder, and elbow) via an Arduino.The arm's movements are controlled using a potentiometer for base control and joystick axes for the shoulder and elbow. Additionally, the angles of the servos are sent via serial communication to update the 3D simulation of the robotic arm in a web interface (using Three.js).

A simple robot controlled by an Atari joystick. The basic robot consists of an Atari joystick, Lego wheels and Lego bricks, off-the-shelf electronic components, Solarbotics GM7 gearhead motors (or Lego motors), and a pack of 4 AA batteries. Of course, you may invent your own variation. The above photograph shows a robot that includes a printed Bonus Lesson: PS2 Wireless Control. For those who want to take their OjanBot to the next level, we'll introduce PS2 wireless controller support. This allows you to control OjanBot using a joystick, just like a remote-controlled vehicle. What you'll do: Connect and configure the PS2 Shield. Read joystick inputs and map them to movement commands.
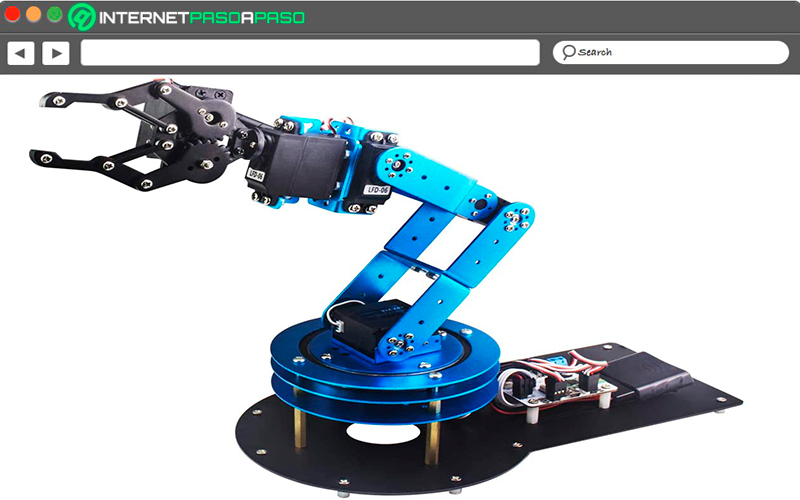
Joystick controlled Robotic Arm with Arduino: Wiring Diagram, Code ... Circuit Diagram
This instructable is a hand-in for a school project that we made. The purpose of this project was to create a robot arm control using thumbsticks. We had to use an Arduino Uno for the control and in addition, we had to implement some sort of actuator or sensor in the setup. We modified a Logitech gamepad using the two thumbsticks.

IntroductionMobile Robots have the capability of moving from one place to another, just like us. We can move from one place to another using our senses, thinking, and muscles. But yes! we are very complex and making a robot like us will take a lot of knowledge and efforts. What we will be learning here will give you a very good feel for robotics. In this project, we will first go through basic

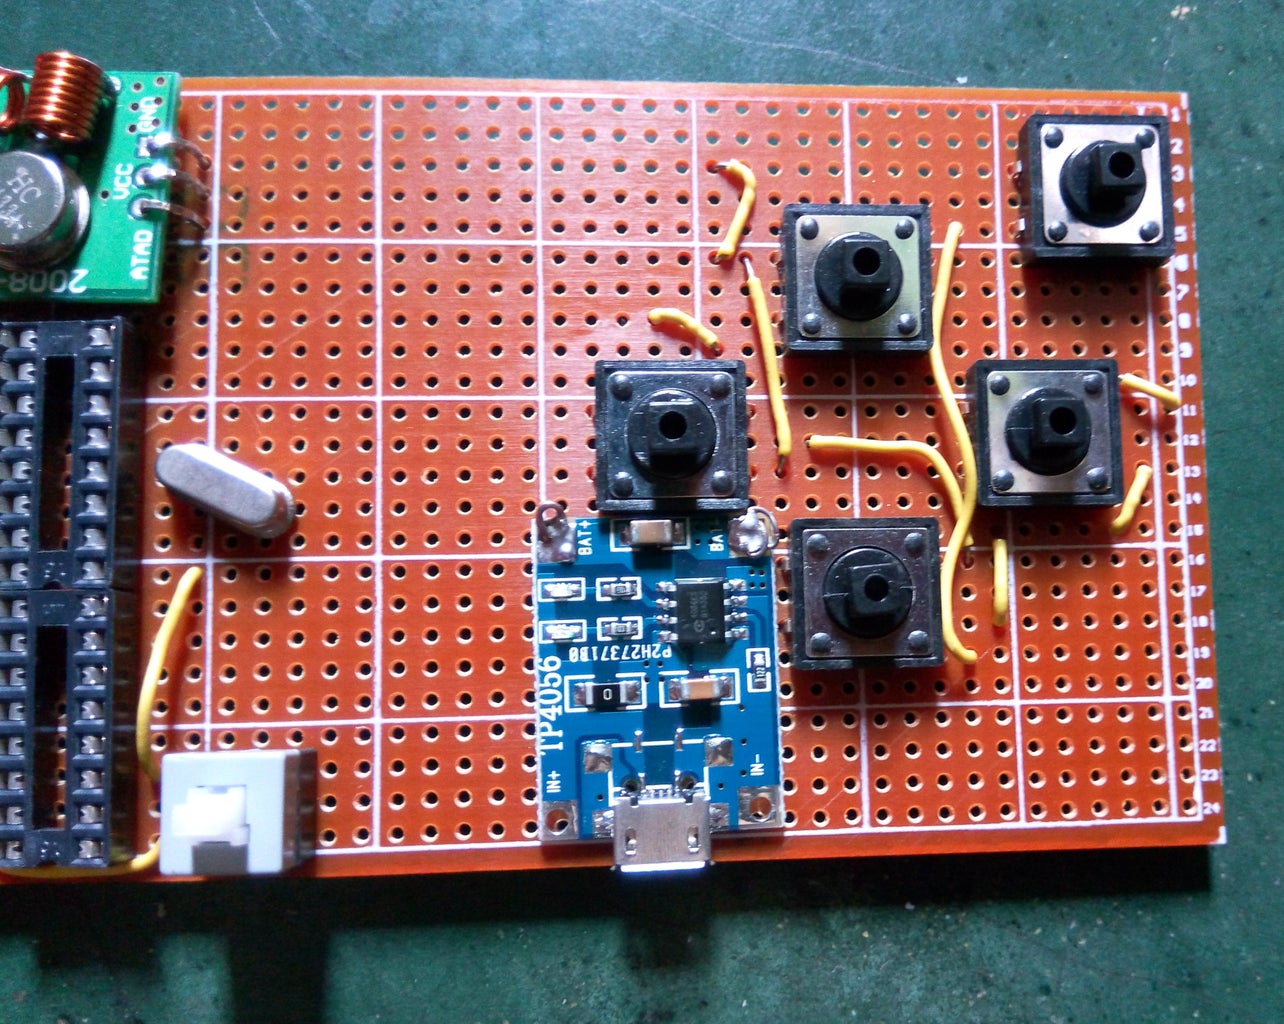
Sparklebox Robotics Kit Circuit Diagram
This instructable is a hand-in for a school project that we made. The purpose of this project was to create a robot arm control using thumbsticks. We had to use an Arduino Uno for the control and in addition, we had to implement some sort of actuator or sensor in the setup. We modified a Logitech gamepad using the two thumbsticks.
